Thursday, 1 June 2017

MIKROTIK:-PPPoE Dialup from Mikrotik as a client

Please click on Quick Set in the mikrotik .


In here , Enter the username and password which is provided by your service provider .and if you want to configure it statically then you can click on static instead of PPPoE.In above picture you can see there a option called Automatic , Automatic means the router will get the IP address through DHCP server .'


if the DHCP server is configured in the service providers end then you will get the IP address
automatically from server.

MIKROTIK:-Bridge Configuration

A Bridge is basically called as to combine a number of networks into one bridge, a bridge interface should be created (later, all the desired interfaces should be set up as its ports). One MAC address will be assigned to all the bridged interfaces (the MAC address of first bridge port which comes up will be chosen automatically).


It's very useful technology in the networking industry because if you want to give a multiple connection from some of the ports and from same subnets then it's very useful to look on that,


The bridge feature allows the interconnection of hosts connected to separate LANs (using EoIP, geographically distributed networks can be bridged as well if any kind of IP network
Lets start the configuration .


I have CCR 1036 and i want to configure one ip address in my bridge interface and i will give the connection in 4 interface .


Click On the BRIDGE.

Step-1
Create the name of the bridge .


Step-2
Assign the port in to Bridge .
Here , I am going to configure the port eth-5,6,7,8, into the bridge .
Ok..Lets start  assigning the port.


Step-3

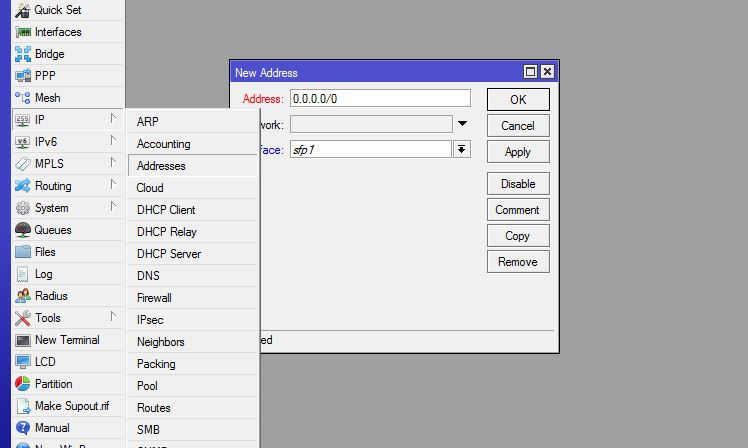
Then Assign the IP address to Bridge(laxmi)


CMD:-


/interface bridge add name=laxmi

Port  Assigning into the bridge


/interface bridge port
add bridge=laxmi interface=ether5
add bridge=laxmi interface=ether6
add bridge=laxmi interface=ether7
add bridge=laxmi interface=ether8


MIKROTIK:-How To see the interface status

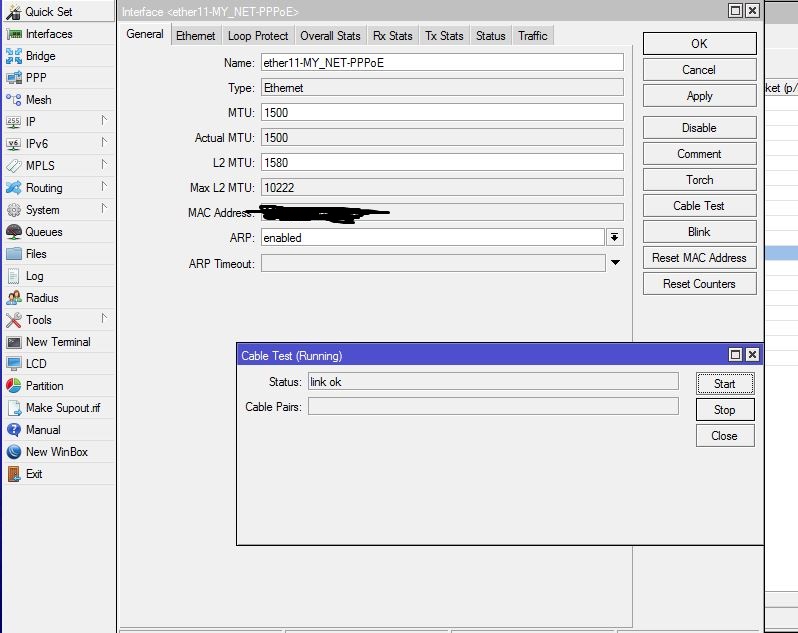
If you want to see the interface status  like,duplex,speed,auto negotiation and port errors
and transmit and receive errors .

Click on interface >>


And also you can check the cable to click on cable Test, And all the things you can see in the menu lists under the interface.


MIKROTIK:-DHCP server

Please find the below steps .


My LAN interface is ETH-6 in this router and all my lan PC's are connected from port number
6 and all my users should get the IP address  through DHCP in my LAN .

Let's start the configuration .


Step-1

Create one IP pool in mikrotik from where the mikrotik will provide the IP address to all the users .


Step-2

Create the DHCP server to provide the IP address to the users .And before you create the DHCP server you have to configure the gateway IP address in ETH-6 interface(According to my requirement.)


NOTE-
DHCP lease time:-


The time that a client may use the assigned address. The client will try to renew this address after a half of this time and will request a new address after time limit expires.

MIKROTIK:-How to enable and disable the MAC access of the mikrotik through winbox.

This is very important when we talk about the security of  mikrotik and sometimes if
you will not  disable this default features then everybody can access to your  mikrotik in the lan through winbox because by default the mac address will be reflect in all the interfaces  for accessing the mikrotik router .


There is an interface list in this submenu level. If you add some interfaces to this list, you allow MAC Winbox to that interface. Disabled (disabled=yes) item means that interface is not allowed to accept MAC Winbox sessions on that interface. Example,Please find the snapshot below and make it configure as per your requirement .


According to  my requirement I have enabled the MAC based winbox access in all the interfaces and also you can make it disable and also you can select particular interface to access the router via winbox.

MIKROTIK:-How To add the DNS address

The DNS configuration is very simple here find the details below screen shot to make it simple .

/ip dns set cache-size=10000KiB servers=8.8.4.4,8.8.8.8


NOTE:-Don't select the Allow Remote Request . Sometimes the router is receiving huge unwanted  DNS attack so please don't click on checkbox of Allow Remote Request in production network .


MIKROTIK:-How To configure Default route and Static route

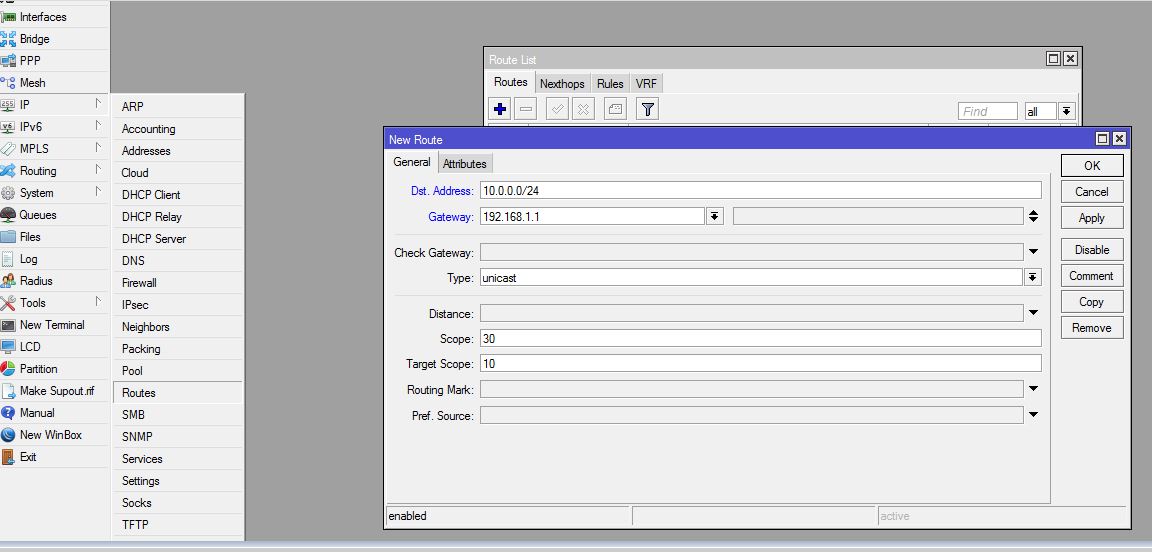
Please find the details below of my mikrotik snapshot to configure the static route and default route
in GUI and CMD as well .


As we know the default route is for forwarding all the traffic towards internet so the router will
forward all the traffic to your gateway and Basically it's required to configure when we are connecting to ISP .


Default route example.


/ip route add dst-address=0.0.0.0/0 gateway=192.168.1.1 distance=1


The static route is required when we want to provide the reach-ability to any particular network .


Static route Example.

/ip route add dst-address=10.0.0.0/24 gateway=192.168.1.1 distance=1